
Hydroponic benches are essential structures that provide support and suitable conditions for growing plants without soil, facilitating healthy and efficient plant growth.
Read the following text to learn how to install Hortivinyl benches.
Step-by-Step Guide for Installing Hortivinyl Benches
The installation process is very simple.
Step 1
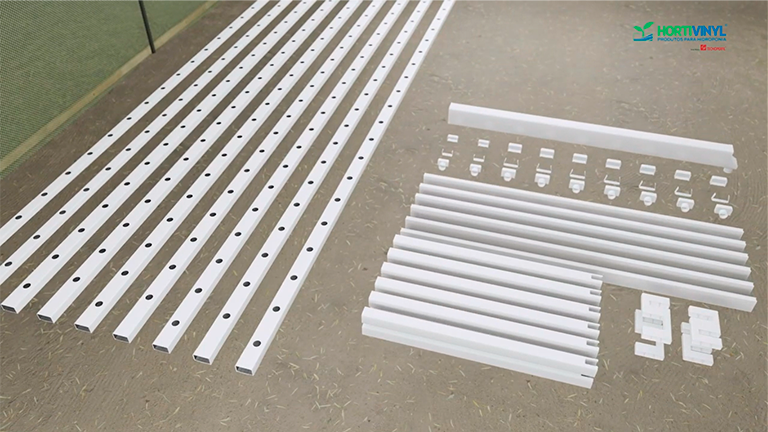
Separate the required number of columns, crossbars, profiles, and accessories according to your project specifications for each bench.
Step 2
Start drilling the ground to fix the columns of the trestles. The columns should be spaced 1,20m to 1,40m apart.

It is recommended to perform the drilling using a soil auger equipped with a 6 to 8 cm bit or manually with a post hole digger.
Step 3
To fix the columns, prepare the cement and embed them to a depth of about 30 cm.
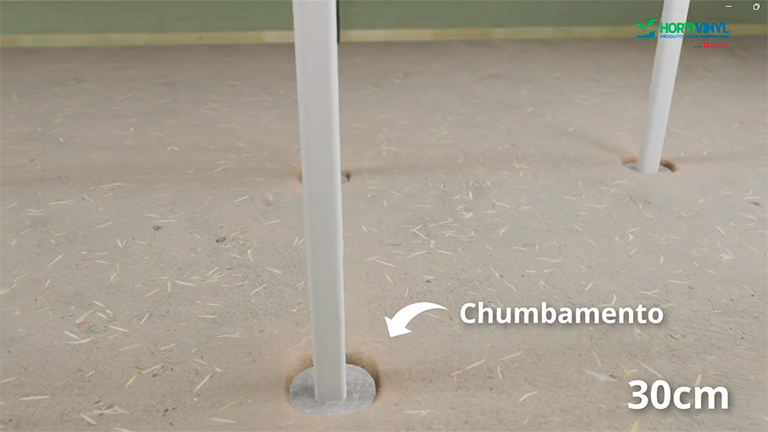
It is important to ensure a minimum recommended slope of 5% between the first and last column to guarantee an adequate system gradient.

Step 4
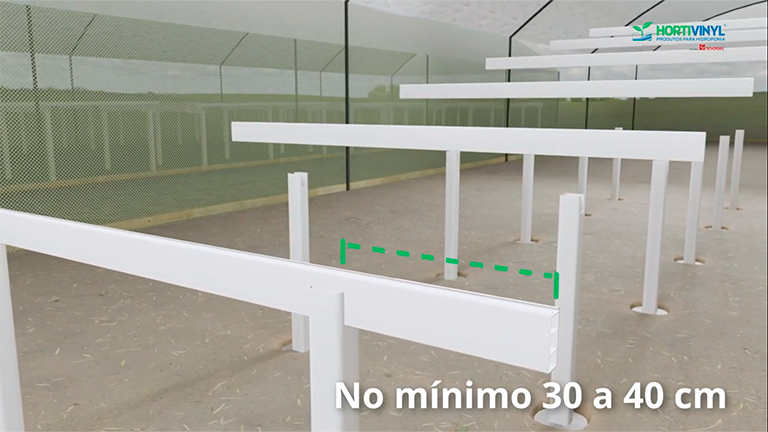
Assemble the trestles by fitting the crossbars over the columns. Make sure to center the crossbars, leaving a space of 30 to 40 cm on each side of the column.
Step 5
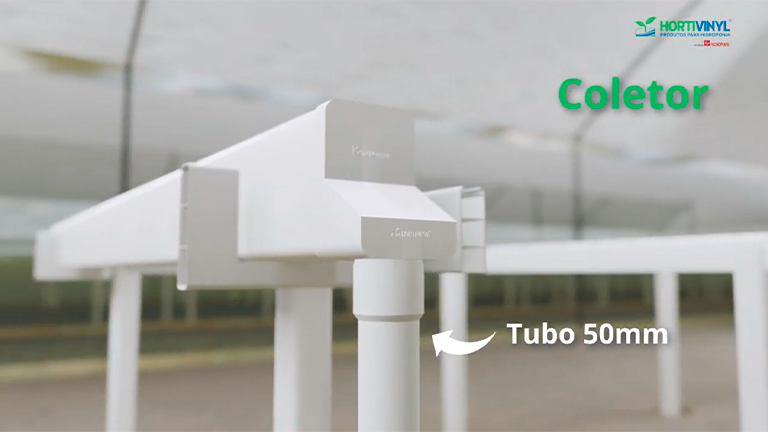
Fit the collector support on the crossbar next to the columns of the last trestle kit at the end of the bench. Before installing the collector, sand for better adhesion.
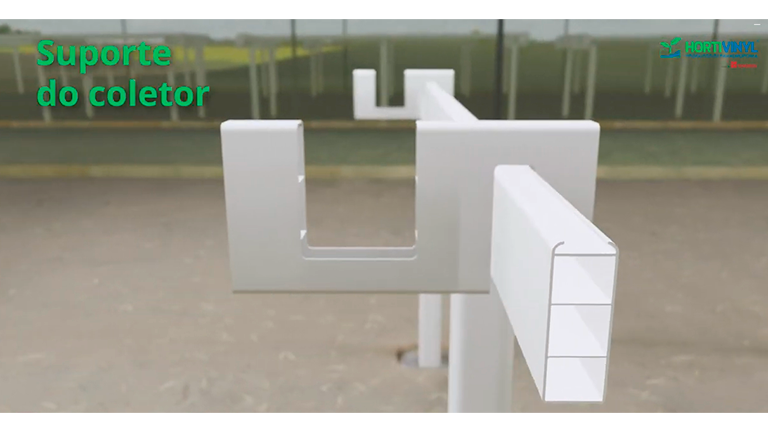
Glue the caps and then fit them into the support. Connect the collector to the return pipe using a 50mm pipe with a socket or sleeve of the same diameter.
Important
Check the correct side of the return pipe and fix the collector outlet cap on the same side.
Step 6
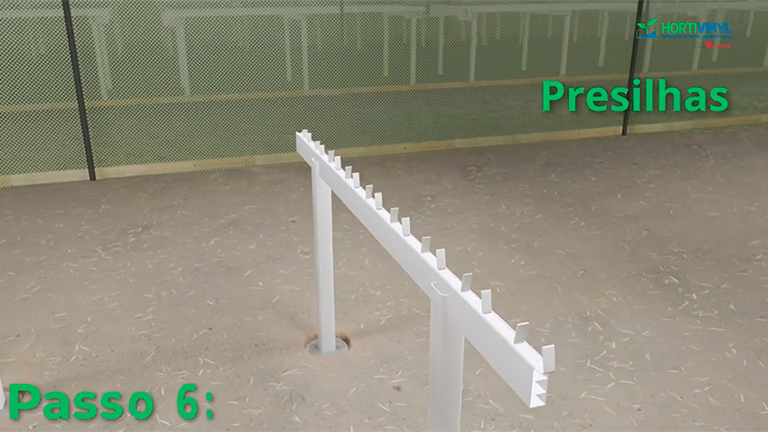
Fix the clips on the crossbars, aligning with the collector holes and the number of profiles designed for each bench.
Identify the profiles for side A and side B according to the identification label before placing them on the bench.
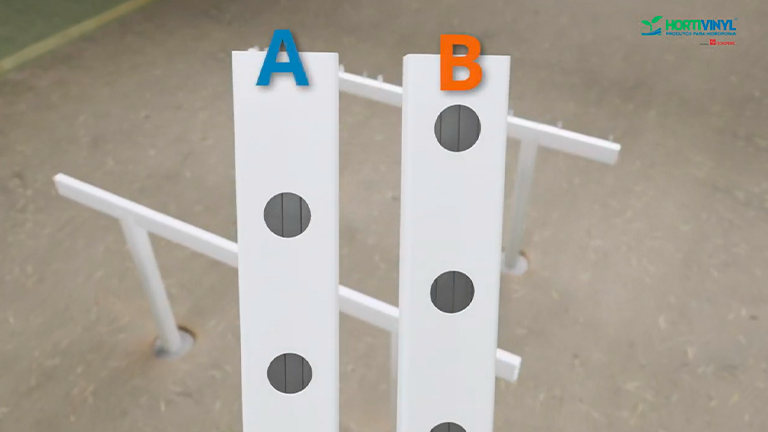
Start the assembly with profile A on one side and profile B on the other, so the holes are staggered.

Step 7
After sanding, glue the outlet caps onto the profiles, wait for the adhesive curing time, and fit the profiles onto the benches.
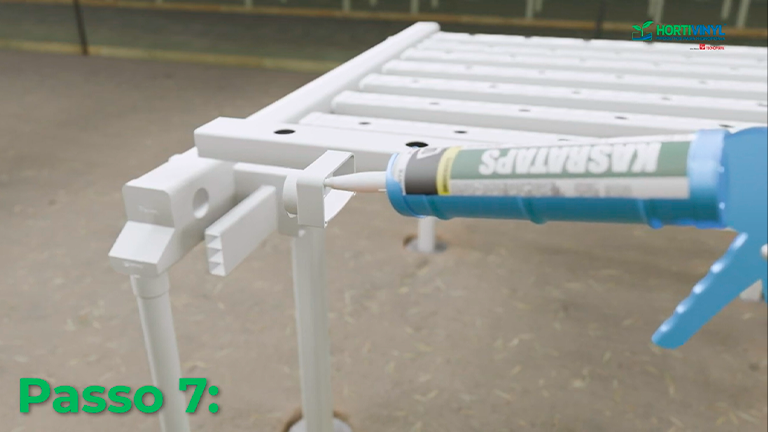

Next, glue the inlet caps if necessary.
It is important to sand the pieces and use the recommended polymer adhesive to ensure the system’s perfect operation.
Then, make the holes in the profiles for the injectors as desired, using a bit of the appropriate size for the Hortivinyl injector hose.
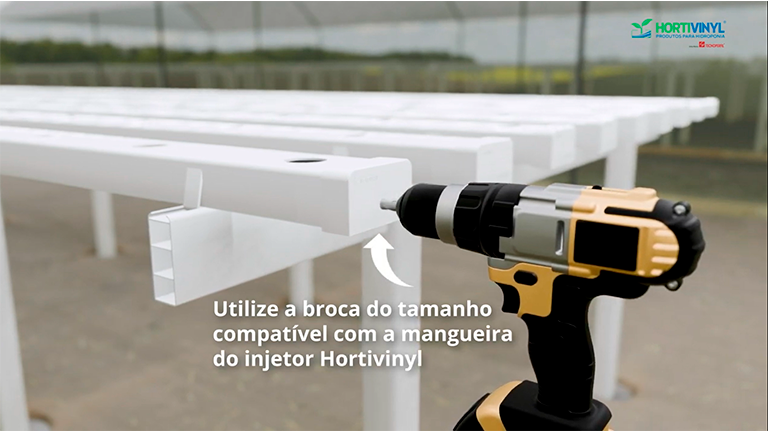
We recommend drilling the inlet cap or the top of the profile.
Step 8
Fit the flute support on the crossbar next to the columns of the first trestle.
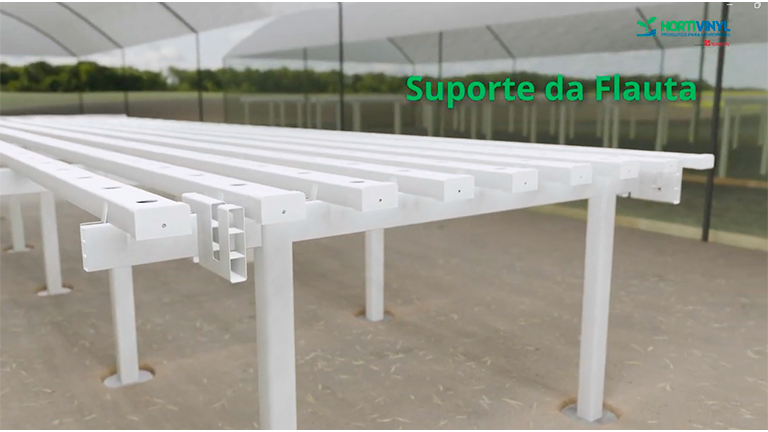
Fit the inlet pipe into the support and then drill a hole with an 8mm bit.
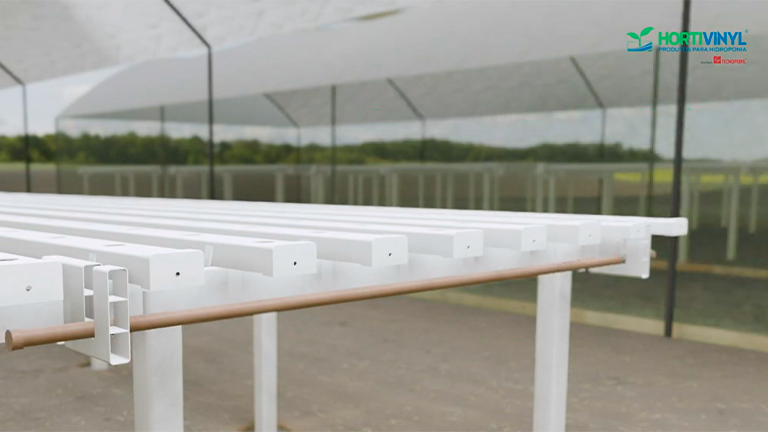

We recommend using a pipe with a diameter of 25mm to 32mm.
To finish, apply thread sealant to the injector and fit it into the pipe.
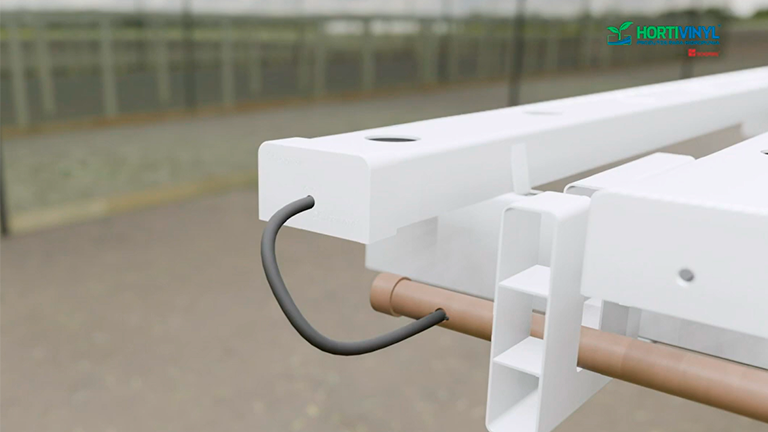
Now your Hortivinyl bench assembly is complete and ready for the hydraulic part installation.
Still have questions? Watch our video and download our installation manual.
Installation video
Cleaning
Proper hygiene of the profiles and the entire hydroponic system is essential to ensure healthy plant growth. Some advantages of adequate cleaning include:
- Disease prevention;
- Maximization of nutritional efficiency;
- Reduction of irrigation system clogging;
- Improvement of water quality;
- Prolonging the lifespan of the benches.
It is recommended to clean the entire system at least once a month.
Check out some tips for the proper cleaning of your bench in our blog post: Cleaning profiles and system.
